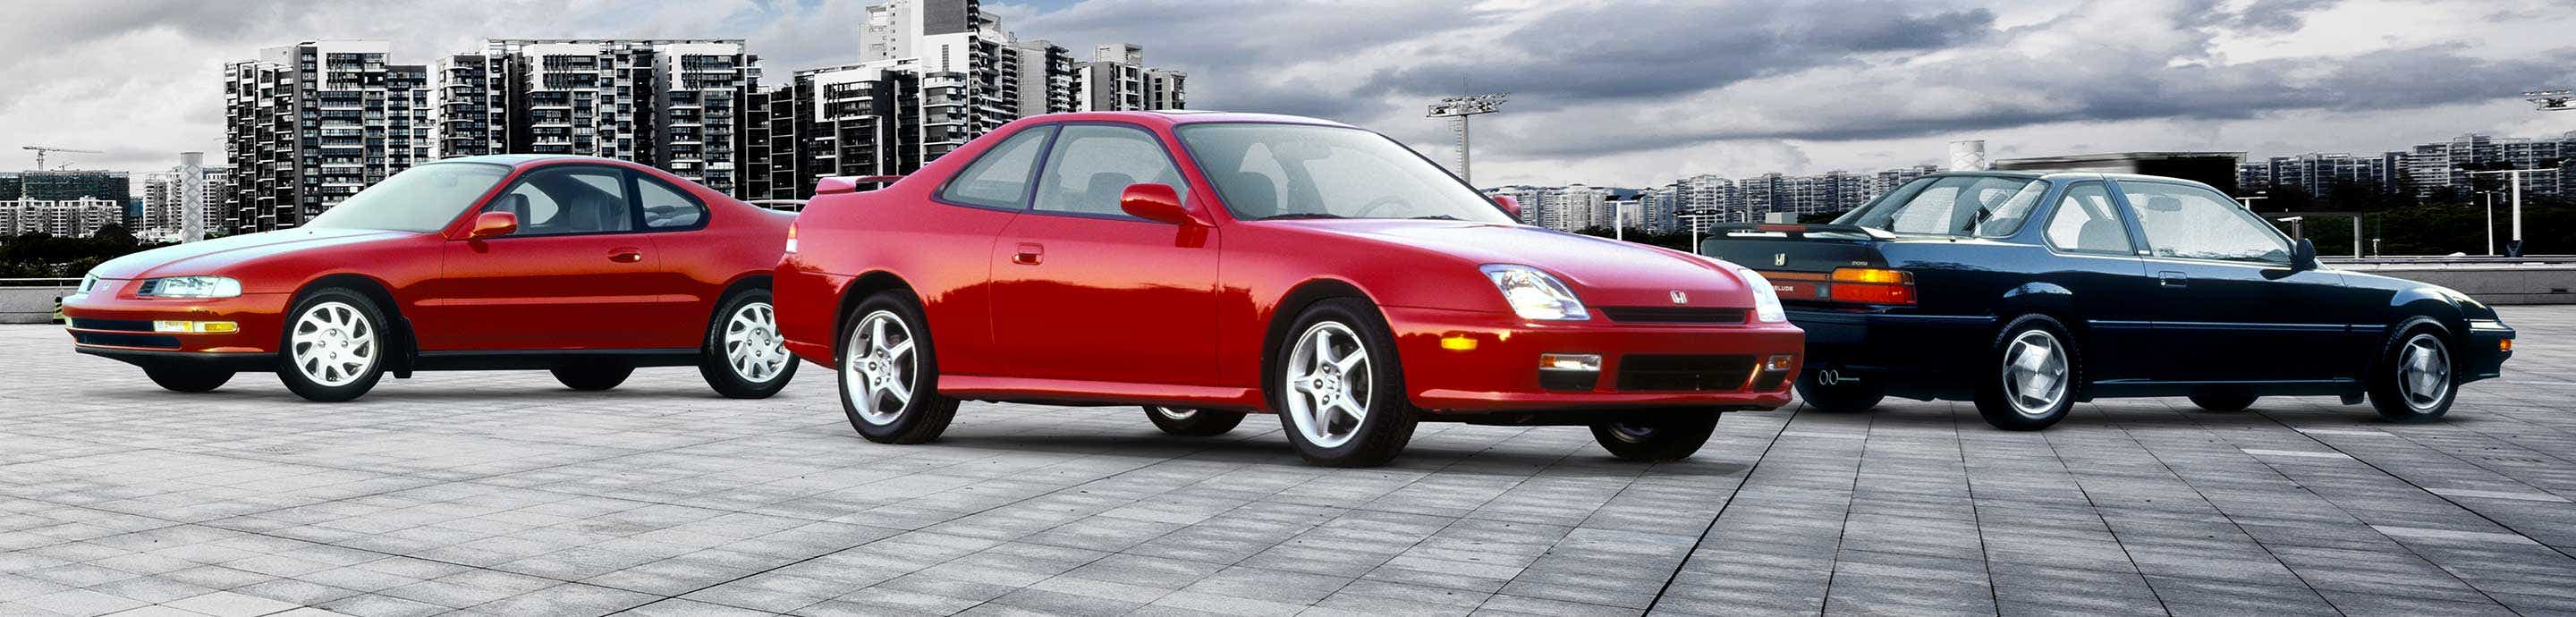
Honda Prelude Forum banner
281 - 300 of 11,322 Posts
y

I had thought about this before after last time I had to deal with it. I am going to do some serious measuring and then providing its not on a seam using a whole saw bit for drill and cut through the subframe and weld a curled into a circle ring or donut if you will to strenghthen the opening. Wouldn't be that hard if it lines up right. Probably won't do it till next spring but will probably do it for sure if possible. It doesn't have to be real big just big enough I can see through and fit a deep with extension 14 socket through it. All honesty if the engineers would of cared about maintenance aspects it would already be there.
A piece of pipe would work mint for this since the subframe is boxed in this area, I have the same idea but with a slightly larger ID for other purposes...

Haha and I was gonna say I went a good 5 years or so with my 89Si before I even bothered to figure out how that tensioner works, I had pretty good luck just unbolting the pump from the bracket.
 
my idler pulley was sqeeuling at idle. Yeah I had it off a year after getting it for belts, tbelt and waterpump. Seems like the idler pulley bolt was broke and the nut was seized on. They probably broke the bolt then just used a prybar to get pulley tight. Unfortunetly I will have to deal with it again in month or month and half if the weather holds out and I get a lot done. I just did this now because I didn't want it to throw a belt and also it sounded like shit. I have my 170 amp alt to install once I am ready to install my remanufactured a/c compressor.
 
Cool man, I hope you didn't spend to much replacing the pulley.

I'm not even running PS right now, but I powdercoated my idler pulley last year when I was doing some other stuff and the bearing was kinda rough plus there was no way to remove it without pounding on the inner race.

I didn't wanna but a whole new one just for the bearing so I popped the bearing out and brought it in to a bearing supply place we deal with at work. I think it came to like $3 or something lol.
 
Is there anyway to get the name of the manufacture and part number. I could fix my old one. Yeah it was $35 or more. So greatly interested.
 
well I think I found the part number but not positive it is correct because when I load it into the koyo site nothing comes up. Koyo 949100-280
 
Ahh sorry I think it was a Timken but I didn't keep any of the info. And it's in storage at the moment.

But if you can tap out the old one (mine came out pretty easy as bearings go) any bearing place should be able to match it up.

Or if you want, you can just measure the inner and outer diameters of the bearing yourself and try to match it up with some bearing charts online. But that's kind of a pain in the ass.

I will definitely have access to it within a few weeks. I'll send you a PM when I get a chance to check it out with some specs I should be able to read the bearing number right off the seal.
 
yeah I used my racheting wrenches from underneath and above. But realy they were too short. What ended up working was a long double box end 12 x 14 and a tap with a hammer from underneath. It was 9" long. Would be nice if I could find one that is 12" long. Could just make one I guess would be simpler than the below but not as effective. Its been six years since I messed with that thing. It seemed like I busted my hand up good using stubby rachet or whatever from above. I had a flex head rachet and could see the adjuster from underneath. It was like nearly folded backwards all the way. As was took person on top to twist the last little bit to click the rachet. To get the pulley out and nut off all the way after loosening the nut had to loosen both bracket bolts some. It just so damn tight there. Takes for ever to get that washer and fricken nut back on due to the limited space.

I had thought about this before after last time I had to deal with it. I am going to do some serious measuring and then providing its not on a seam using a whole saw bit for drill and cut through the subframe and weld a curled into a circle ring or donut if you will to strenghthen the opening. Wouldn't be that hard if it lines up right. Probably won't do it till next spring but will probably do it for sure if possible. It doesn't have to be real big just big enough I can see through and fit a deep with extension 14 socket through it. All honesty if the engineers would of cared about maintenance aspects it would already be there.
Wow Kevin, that's a lot of work. I just remove the cruise control servo whenever I need to loosen the tensioner. It only takes 30 seconds to remove one bolt and loosen the other to get the servo out of the way. Then it's easy to reach the bolt with a normal 14 mm end wrench.
 
well I also removed the fog and turn signal. lol I bought like an 18" long 3/8" extension for going through the bumper. I think it is either a mith or only on 88-89 bumpers. There is a whole but its behind the rear plastic cover for fog light electrical connections. Either you have fogs and you drill with hole saw through back then put in rubber plug after done or you don't have fogs and there is no way of removing the delete plugs unless you take off the bumper. Same goes for rear fog covers. Someday maybe next spring i will take the cover off and sandblast my front end and respray. I might take the covers off then to see if that hole is usable. Maybe I was thinking for alternator adjustment. But I have heard from many members you can go through the bumper. Meh.
 
You mean to adjust the tensioner? I use an 18 inch extension with a wobble and 12 mm socket, and insert it through right next to the headlight housing. I can take a pic if my description isn't clear. I used to use three six inch entensions, but bought the extra long one just for this purpose. That extension also comes in handy for removing the intake manifold brackets from underneath the car.
 
yeah pic would be great! As for the extension it is also very handy for vss and removing the lower spash sheild 2 rear most bolts. I didn't really look at around the headlight today but had in the past and never did see a hole. I seriously doubt the buckets on the radiator yoke would be different.
 
I use the same method for my 89 and 91 ludes. I'll go take a pic right now since I'm thinking about it...
 
Thanks man. I am beat so I will check it out if I wake up for a smoke or in the mornin'
 
Here's the pics. The lighting is bad because the flash is broken on my camera. I used a flashlight app on my cell phone for lighting. Hopefully they'll help a few members out...

Headlights need to be open.

Image


Image


There may be a cover that you'll need to remove. My 91 had this cover but my 89 didn't. Here is a good shot of the opening next to the headlight housing.

Image
 
Great pics! I will look at mine tomorrow. Maybe you or I can make into a write up thread for the F.A.Q. Using your pics. When you say you used a wobbler your talking about one of those universal joints right? Not a wobble end extension. Which I have those too from two inch to nine inch. Is the wobbler at a real angle on the adjustment bolt? If not would putting heater hose over it make it easier? If you make the thread just title it something like powersteering belt adjustment and adjuster. Also point out the nut on pulley for idler pulley is 14mm wrench and adjuster is held on by 12 mm wrench/socket and the adjuster bolt is 12mm and that you must first loosen the idler pulley 14mm nut first before turning the adjuster bolt. The slimmer the 14mm wrench is the better. Racheting wrenches realy help. First it was just actually getting the wrenches on the nuts and bolts and figuring out what size they were. 12 or 14mm. Guess I may of been able to search on that one. However I had photocopied the helms book pages for this but they don't tell you shit like that. Thanks man!
 
I had thought about this before after last time I had to deal with it. I am going to do some serious measuring and then providing its not on a seam using a whole saw bit for drill and cut through the subframe and weld a curled into a circle ring or donut if you will to strenghthen the opening. Wouldn't be that hard if it lines up right. Probably won't do it till next spring but will probably do it for sure if possible. It doesn't have to be real big just big enough I can see through and fit a deep with extension 14 socket through it. All honesty if the engineers would of cared about maintenance aspects it would already be there.
Thats a great idea, i might have a bit of a quick measure myself. If it looks possible i might give it a try next time i pull the engine.
 
Great pics! I will look at mine tomorrow. Maybe you or I can make into a write up thread for the F.A.Q. Using your pics. When you say you used a wobbler your talking about one of those universal joints right? Not a wobble end extension.
Lol, yeah my bad. It's a universal joint not a wobble.

Cuda, good pics on MustardCat's site about the powersteering fix with pics of PS adjustment. Probably would've saved you a few headaches:

http://mustardcat.brinkster.net/p3g/CommonProblemFixes/psleak/psleak.htm
I should have figured that MustardCat's site would have a write-up on that. It would have saved me from having to take pics last night at 10:30 in front of my house. with my cell phone in one hand for light and the camera in the other, lol.
 
I cleaned the cob webs from around it.
 
I cleaned the cob webs from around it.
your not suppose to clean the cob webs from around it. Your suppose to blow the cob webs out of it like on the highway. haha
 
281 - 300 of 11,322 Posts