

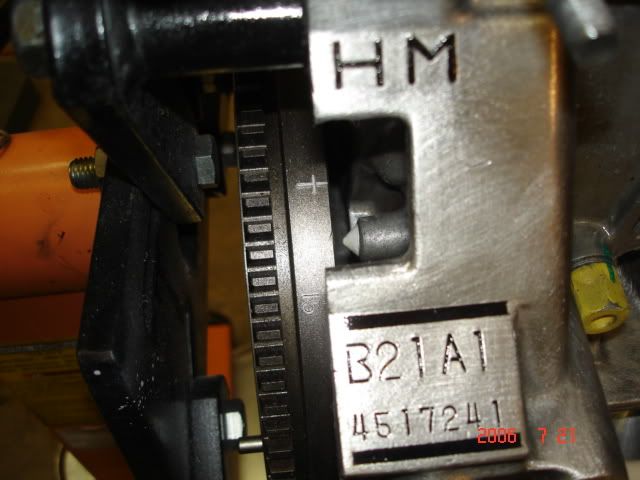
Before taking anything apart, set the #1 Cylinder at Top Dead Center (TDC) - #1 Piston at the tip of its stroke with distributor rotor pointing to #1 wire. Arrows on cams should be pointing straight up. The little white cross tick mark shown on the flywheel is top dead center. This pic is shown for reference only for where to look. The pic shows it slightly off of top dead center (TDC).:smile:
Note: Take out the spark plugs to make the crankshaft easier to turn through.
![Image]()
This is not absolutely necessary but before I removed the old belt, I marked it to the cam gears and to the crank gear. I then set it aside to use as a reference tool in case I needed it at re-assembly. I did this just so I could be absolutely sure I got the new belt back on correctly. What you see below is the new belt lined up and marked to match the marks on the old belt. If you prefer not to or can't use the old belt as a reference like this (because the old belt is broken) the following pics should help give a clear visual.
![Image]()
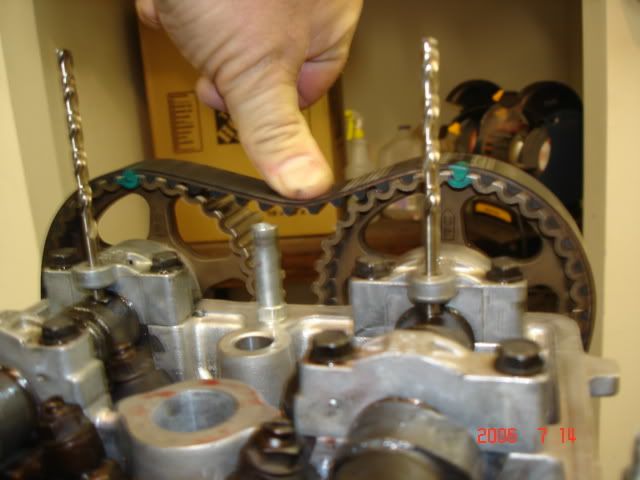
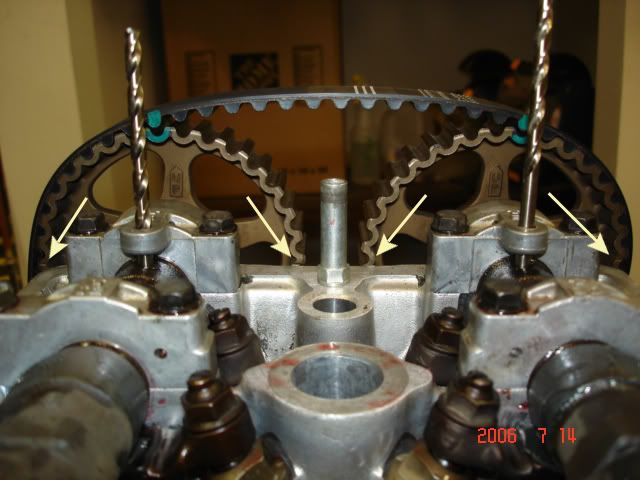
First you will need a couple of rig pins to lock the cams into position. The instructions are in the service manual. I found that two #9 drill bits worked best for me. I wanted a good fit without any play because it doesn't take much movement to be off a tooth. The #9s fit just about perfectly.
![Image]()
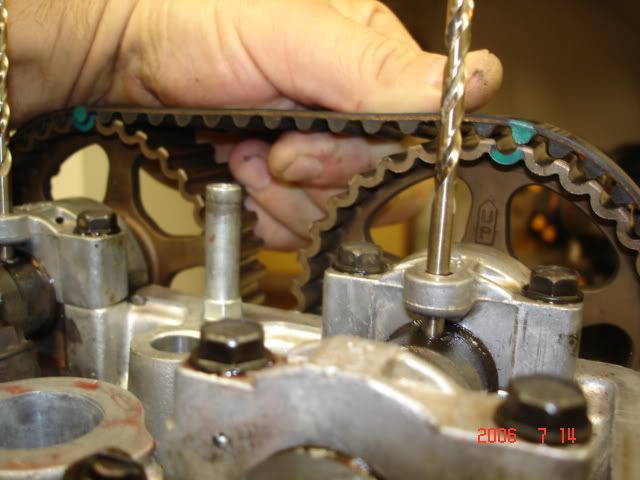
So here is what it looked like with the rigging set up. Wait..This doesn't quite look right to me. There is slack in the belt between the cam gears. I thought this couldn't be right. The first time I installed one, I thought there shouldn't be this slack. I thought I'd take that slack out of the belt and go to the next tooth. I was WRONG. If you are off a tooth the engine will run but it will not be right. You will lose efficiency. Power and gas mileage will be affected and its probably not good for the engine in general. What I failed to realize was, this was correct and was just the rigging phase. I hadn't actually adjusted the tension on the belt yet. Long story short, that slack will take care of itself when all is said and done.
![Image]()
![Image]()
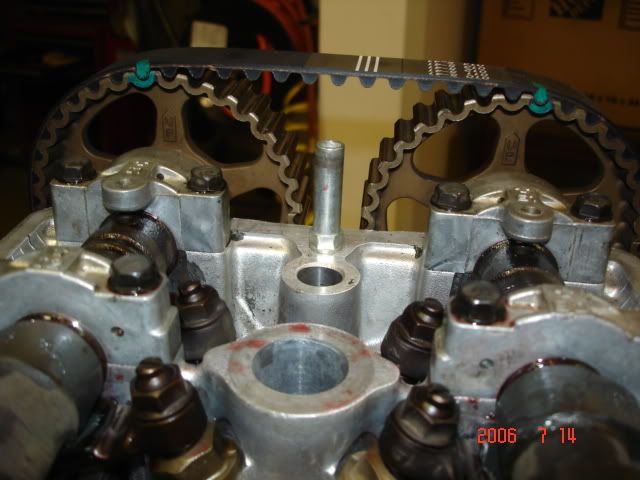
You can see below that you cannot actually move it to the next tooth with the rigging pins installed. You would have to either move the crank or move one of the cams.
![Image]()
Below is a wide angle view with the rigging pins in and the #1 cyl at TDC. White tensioner bolt is loose. You may notice the black plastic back plate for the timing belt cover has not been installed yet. Be sure to put that on before you install the belt the final time.
![Image]()
Thats basically it. All that's left to do is adjust the tension on the belt. Since I now have a better understanding and have a good visual reference (Slack) of what it looks like before the tension is set I won't need to use the old belt with marks on it next time.
To set the tension follow the instructions in the manual. Take out the rig pins. Loosen then tighten tensioner bolt, then move crank a few teeth Counter clockwise, loosen and re-tighten the tensioner bolt again. Caution: (If you turn the crank Clockwise before you have the tension set, the belt can jump a tooth or several teeth on the crank gear). Keep an eye on that.
Correction
![Image]()
This pic shows the belt with the tension set.
![Image]()
Intake side with tension set.
![Image]()
Exhaust side with tension set
![Image]()
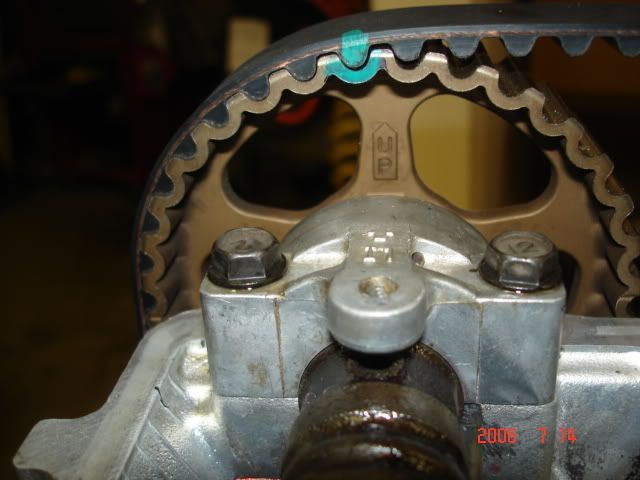
Here is the Pic that shows the marks on the cam sprockets that need to be aligned with the top of the head while the crank is at TDC.
![Image]()
Note: Take out the spark plugs to make the crankshaft easier to turn through.
This is not absolutely necessary but before I removed the old belt, I marked it to the cam gears and to the crank gear. I then set it aside to use as a reference tool in case I needed it at re-assembly. I did this just so I could be absolutely sure I got the new belt back on correctly. What you see below is the new belt lined up and marked to match the marks on the old belt. If you prefer not to or can't use the old belt as a reference like this (because the old belt is broken) the following pics should help give a clear visual.

First you will need a couple of rig pins to lock the cams into position. The instructions are in the service manual. I found that two #9 drill bits worked best for me. I wanted a good fit without any play because it doesn't take much movement to be off a tooth. The #9s fit just about perfectly.

So here is what it looked like with the rigging set up. Wait..This doesn't quite look right to me. There is slack in the belt between the cam gears. I thought this couldn't be right. The first time I installed one, I thought there shouldn't be this slack. I thought I'd take that slack out of the belt and go to the next tooth. I was WRONG. If you are off a tooth the engine will run but it will not be right. You will lose efficiency. Power and gas mileage will be affected and its probably not good for the engine in general. What I failed to realize was, this was correct and was just the rigging phase. I hadn't actually adjusted the tension on the belt yet. Long story short, that slack will take care of itself when all is said and done.

You can see below that you cannot actually move it to the next tooth with the rigging pins installed. You would have to either move the crank or move one of the cams.
Below is a wide angle view with the rigging pins in and the #1 cyl at TDC. White tensioner bolt is loose. You may notice the black plastic back plate for the timing belt cover has not been installed yet. Be sure to put that on before you install the belt the final time.

Thats basically it. All that's left to do is adjust the tension on the belt. Since I now have a better understanding and have a good visual reference (Slack) of what it looks like before the tension is set I won't need to use the old belt with marks on it next time.
To set the tension follow the instructions in the manual. Take out the rig pins. Loosen then tighten tensioner bolt, then move crank a few teeth Counter clockwise, loosen and re-tighten the tensioner bolt again. Caution: (If you turn the crank Clockwise before you have the tension set, the belt can jump a tooth or several teeth on the crank gear). Keep an eye on that.
Correction

This pic shows the belt with the tension set.
Intake side with tension set.
Exhaust side with tension set
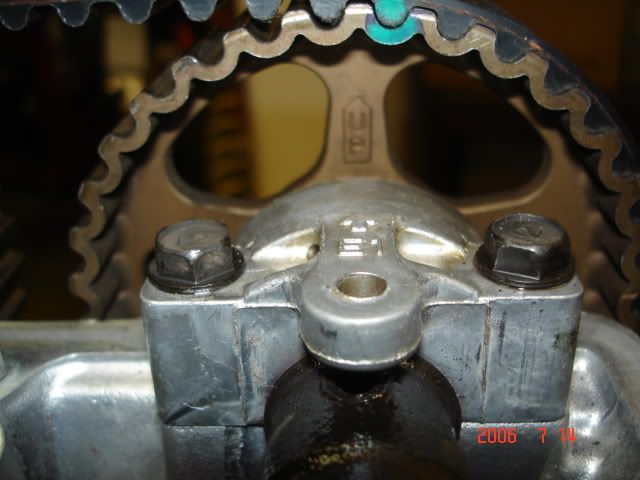
Here is the Pic that shows the marks on the cam sprockets that need to be aligned with the top of the head while the crank is at TDC.
")


